
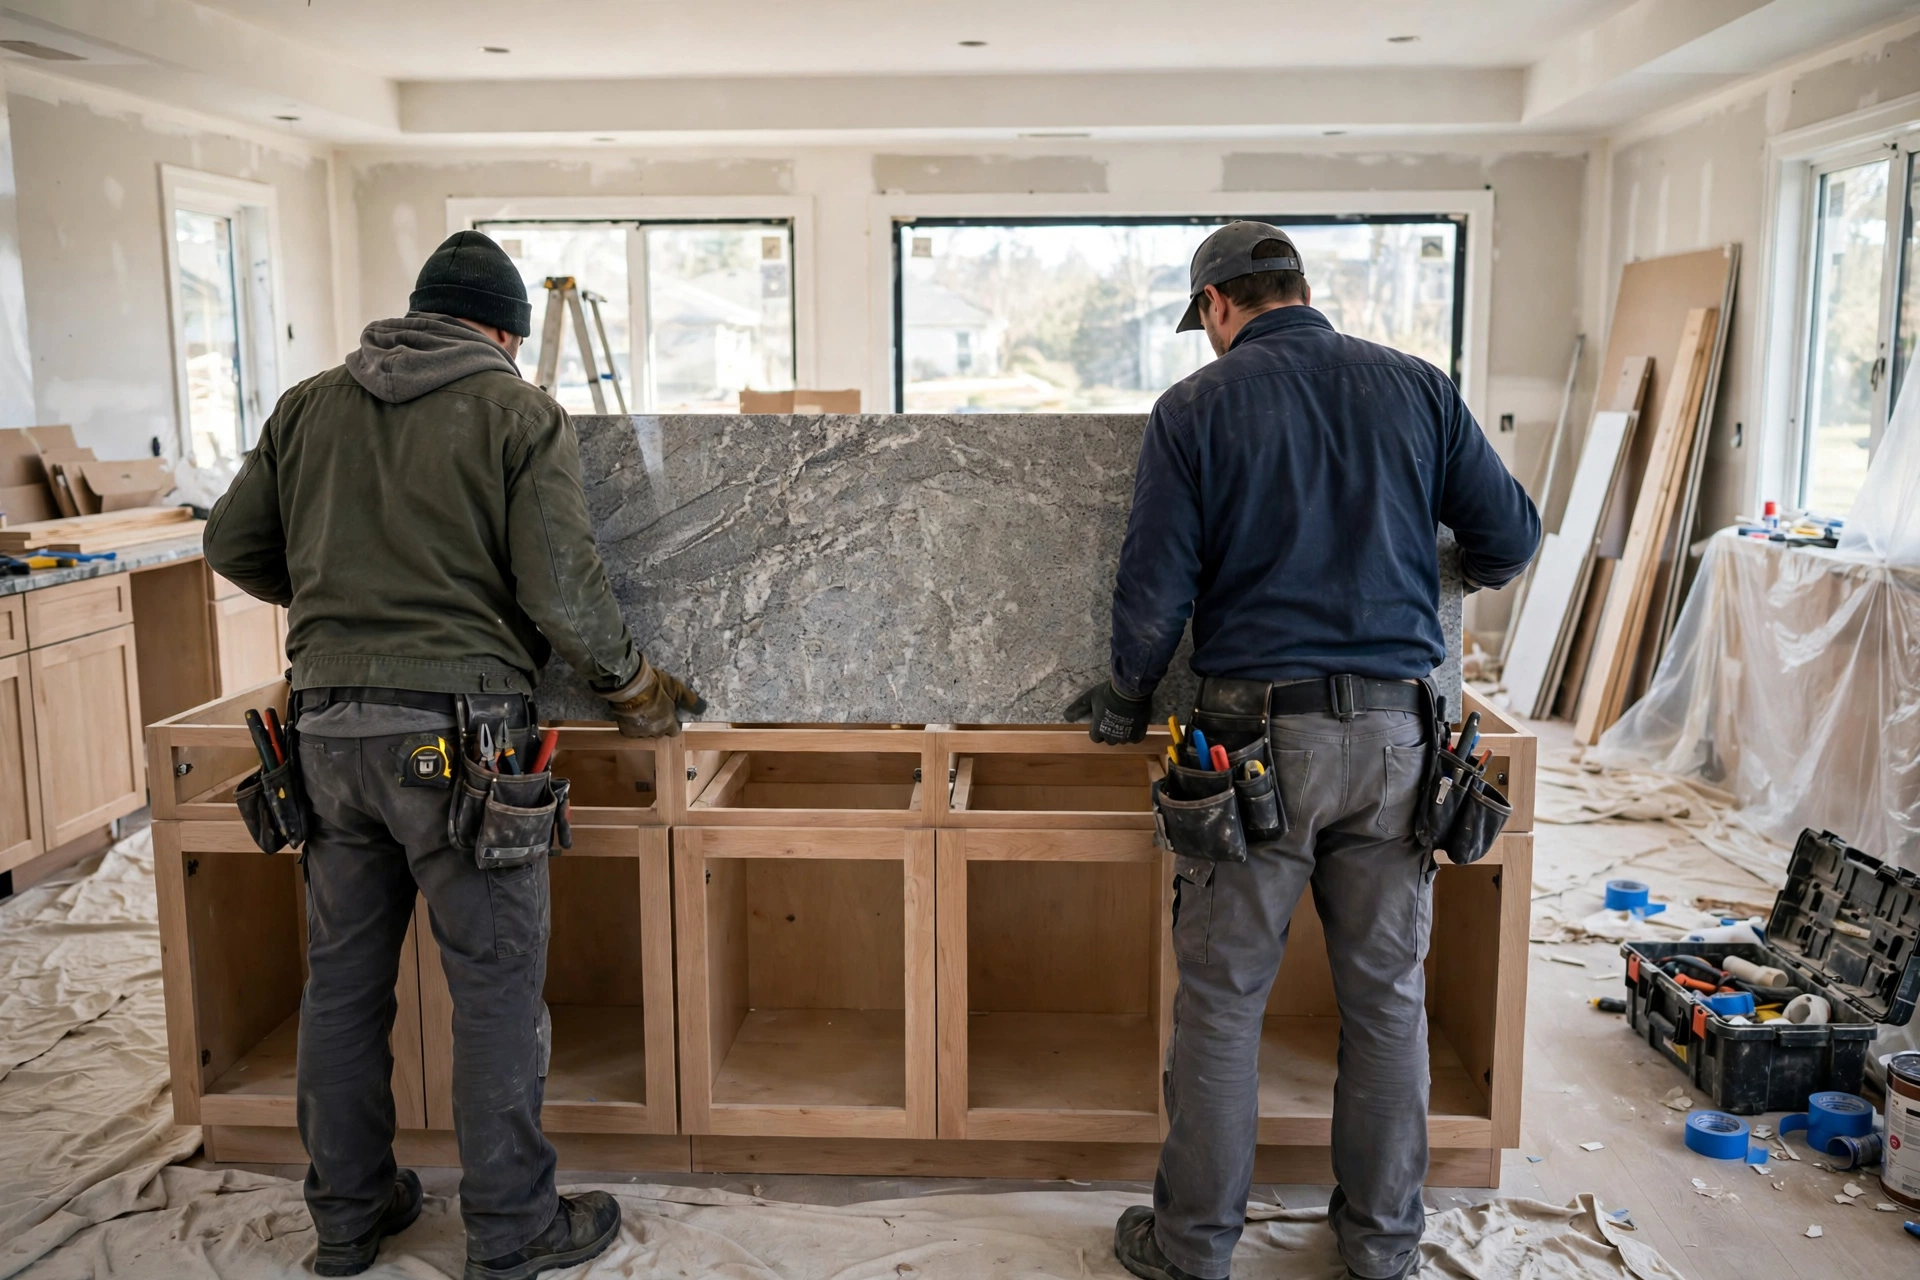
What to Expect on Countertop Installation Day
By the time your installation day arrives, most of the hard work is already done — you chose your slab, approved your estimate, and a technician came out weeks ago to laser-measure every wall, cabinet, and sink cutout. Install day is the payoff. Here’s exactly what happens, what you need to do beforehand, and how to make sure the finished job is right.
How We Got Here: The Templating Step
Installation day starts long before the crew pulls up. After you selected your stone, a templater visited your home and created an exact digital template of your cabinets — measuring to the fraction of an inch, noting every angle, overhang, and cutout for your sink and cooktop. Your slabs were then cut, shaped, polished, and finished in the fabrication shop. What shows up at your door is the finished product, ready to set in place.
How Long Installation Takes
For a standard kitchen (roughly 40–60 square feet of countertop), installation typically takes 3–5 hours. Larger kitchens, islands with waterfall edges, multiple bathroom vanities, or complex cutouts can stretch to a full day. If your job includes removing old countertops, add another hour or two.
Your installer should have given you a time window. Plan to be home — or have someone you trust there — for the full visit, especially the final walkthrough.
What to Do Before the Crew Arrives
Clear the counters and cabinets. Remove everything from your countertops, and clear out the cabinets and drawers directly beneath the work area. Crews need access from below for clamping and sink mounting, and your belongings need to be out of the way of dust and vibration.
Disconnect plumbing and gas. Undermount sinks connect to your plumbing, and cooktops connect to gas or electrical lines. Unless your installer specifically includes this, arrange for your plumber or appliance tech to disconnect (and later reconnect) these lines. Gas connections should only be handled by a licensed professional.
Plan for pets and kids. Installation involves heavy stone, power tools, and open doors. Keep pets secured in a separate room or off-site for the day, and keep children away from the work zone. Stone slabs weigh hundreds of pounds — this is not a spectator sport.
Clear parking and access. The crew will carry full slabs from their truck to your kitchen. Make sure there’s a clear path — move cars, unlock gates, prop open doors, and clear hallways of furniture. Every extra obstacle slows the job and raises the risk of something getting bumped.
Know your sink situation. If you’re installing a new undermount sink, have it on-site. The sink is mounted to the underside of the stone during installation, and the plumber reconnects it later — the same day or the next, depending on your plumber’s schedule.
What the Crew Does, Step by Step
- Protect and prep. Drop cloths go down, and the work area is cleared. If old countertops are being removed, they come out now (this is the loudest, dustiest part of the day).
- Dry fit. Each piece is set in place without adhesive to check the fit — corners, walls, overhangs, and how the pieces meet at the seams.
- Level. Shims bring every piece perfectly level and flush with its neighbors. This step is fiddly and critical: a rushed level job means uneven seams and rocking.
- Seams. Where two pieces meet, the crew sets a tight, level seam and fills it with color-matched adhesive. A good seam on a patterned stone is nearly invisible from a few feet away.
- Adhesive and set. Construction adhesive bonds the stone to the cabinet tops, and the pieces are clamped where needed.
- Sink mounting. Undermount sinks are secured to the underside of the stone with clips and adhesive.
- Backsplash and caulk. Any backsplash pieces go in, and caulk lines are run where the stone meets walls and where the sink meets the stone.
- Clean-up and seal. The crew cleans the surface, and most installers apply the first coat of sealer on natural stone (a second coat may be applied after curing).
Dust and Noise: What’s Normal
Expect moderate dust and noise — cutting adjustments, drilling for faucet holes, and sink mounting all generate both. It’s nowhere near a full demolition, but it’s not a quiet visit either. If you work from home, plan calls around the install window or relocate to the far end of the house. Dust settles mostly in the kitchen, and a good crew vacuums and wipes down before leaving.
The Final Walkthrough: What to Check
Before the crew packs up, walk the kitchen with the lead installer and check:
- Seams. Run your finger across every seam. It should feel smooth and nearly flush — no sharp lip, no wide gap, no color mismatch that jumps out at you.
- Overhangs. Island and bar overhangs should match what was on your layout drawing — typically 10–12 inches for seating. Measure if you want; it’s your right.
- Caulk lines. Caulk where stone meets wall, backsplash, and sink should be neat, continuous, and even — not blobby, not gappy.
- Sink alignment. The undermount sink should be centered in its cutout with an even reveal all the way around. Check from above and below.
- Polish and finish. Look at the surface in natural light for dull spots, scratches, or unfinished patches.
- Edges. Run your hand along the edge profiles — they should be smooth and consistent, with no rough patches.
Speak up on the spot. Adjustments are easy while the crew is there and much harder later.
When Can You Use the Kitchen Again?
Light use: You can set things back on the counters within 24 hours — but keep it light. Full use: Wait 24–48 hours before putting heavy appliances back, and give caulk and adhesives a full 24 hours to cure before running water in an undermount sink. Your installer will confirm the exact timing for the products they used.
If you’re planning a dinner party, give yourself a comfortable buffer — install on Monday, host on Saturday. Nobody wants to discover a plumbing hiccup an hour before guests arrive.
Installation day is the moment your kitchen transforms from a construction zone into the room you pictured. With a little prep and a careful walkthrough, it’ll go exactly as it should.
Royal Granite Creations has handled countertop installations across Metro Atlanta since 2015 — templating, in-house fabrication, and installation of granite, quartz, quartzite, and marble, all under one roof. Call (678) 653-7101 for a free estimate.