
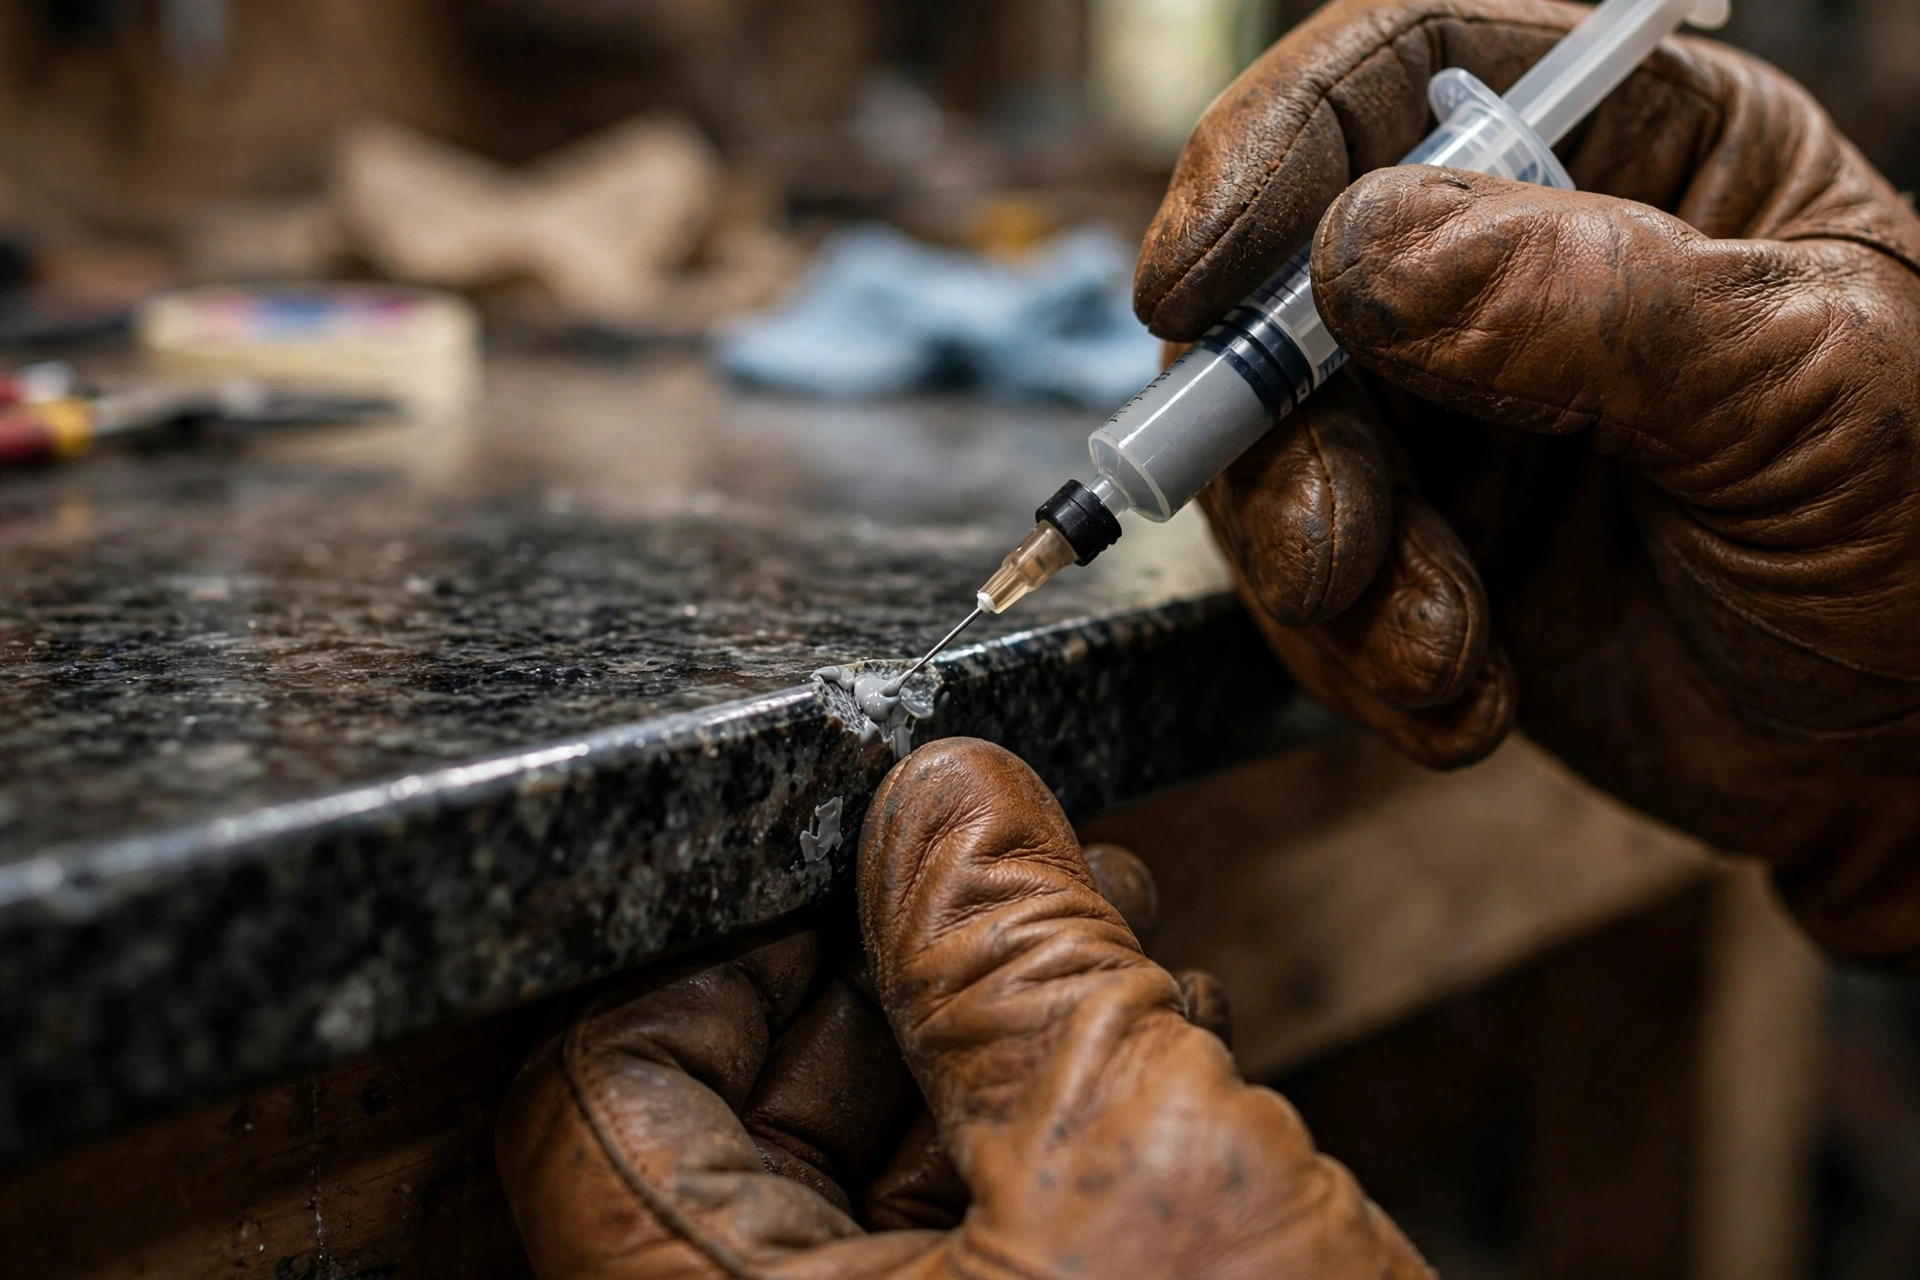
How to Repair Chips and Cracks in Stone Countertops
A dropped cast-iron skillet, a slipped knife, a heavy pot set down too hard — stone countertops are tough, but accidents happen. The good news: most chips are very repairable, and even some cracks can be stabilized. Here’s how to assess the damage, fix small chips yourself, and know when to call in a professional.
Step 1: Assess the Damage
Not all damage is equal. Identify what you’re dealing with:
Chip: A small piece missing, usually along an edge or corner. Smaller than a dime, not extending deep into the slab. These are the most common and the most DIY-friendly.
Crack: A line running through the stone. Hairline surface cracks may be cosmetic; cracks you can feel with a fingernail, or that run from an edge inward, are structural concerns.
Seam separation: An existing seam between two slabs has opened up — you’ll see a visible gap, sometimes with the old adhesive showing. This is a re-bonding job, not a fill job.
Shatter or large break: A corner broken clean off, or a crack spanning the full width of the counter. This needs a professional — and sometimes a replacement piece.
The rule of thumb: if the damage is smaller than a dime and not growing, DIY is reasonable. If it’s a crack longer than a few inches, near a sink or cooktop cutout, or you can feel movement, call a professional before touching it.
DIY Chip Repair: Step by Step
For a small chip on granite, quartzite, or marble, you’ll need: a color-matched epoxy or polyester resin repair kit (stone suppliers and online retailers sell them, often with tinting pigments), acetone or denatured alcohol, a razor blade, fine sandpaper (400+ grit), and a polishing pad or compound.
- Clean the chip thoroughly. Remove all dust, grease, and loose fragments. Wipe with acetone or denatured alcohol and let it dry completely. Adhesion fails on dirty stone — this step matters most.
- Mix the resin. Following the kit instructions, mix the epoxy or polyester resin with hardener, adding tinting pigment to match your stone. Test the color on a piece of tape first — aim slightly darker than the stone, since resin lightens a touch as it cures.
- Fill slightly proud. Apply the resin into the chip with a putty knife or the kit’s applicator, overfilling just slightly above the surface. For deep chips, fill in two thin layers, letting the first cure before adding the second.
- Let it cure fully. Most epoxies need 24 hours for a full cure. Don’t rush this — premature sanding ruins the repair. Keep the area dry and untouched.
- Level with a razor. Once fully cured, hold a single-edge razor blade nearly flat against the stone and shave the excess resin down flush. Use light, even strokes. This is more controllable than sanding for small repairs.
- Polish. Buff the repair with a fine polishing compound to blend the sheen with the surrounding stone. On polished granite, this step is what makes the repair disappear.
What to expect: A well-done chip repair is visible if you look for it — you’ll know exactly where it is — but it should be nearly invisible to anyone else. The goal is a repair that doesn’t catch the eye, not a molecular-level restoration.
What NOT to Do
- No superglue blobs. Cyanoacrylate yellows, shrinks, and stands proud of the surface. It looks worse than the chip and makes a proper repair harder later.
- No aggressive sanding. Coarse sandpaper or power sanders will scuff the surrounding polished stone over a wide area. Keep abrasives fine, local, and minimal.
- No clear nail polish. It’s not color-matched, not durable, and yellows within months.
- Don’t fill a moving crack. If a crack flexes or is growing, filler just masks a structural problem that will get worse. Stabilize first — that’s professional work.
When a Crack Needs a Professional
Call a stone restoration pro when:
- The crack is near a sink or cooktop cutout. These are stress points, and cracks here tend to propagate. A pro can rout, fill, and reinforce the area properly.
- The crack runs edge to edge or is longer than a few inches. Long cracks often need to be opened, filled with color-matched epoxy, and sometimes reinforced from below.
- There’s any movement. If the two sides of a crack shift when you press, the slab needs structural attention — sometimes a steel rod is epoxied into a channel cut underneath to lock the pieces together.
- It’s a seam separation. Re-bonding a seam requires re-leveling the two pieces, cleaning out old adhesive, and clamping — a two-person job with the right tools.
A professional repair on a structural crack typically runs a few hundred dollars — far less than replacing the slab.
Preventing Future Damage
- Protect the edges. Most chips happen at exposed edges and corners. Be mindful setting down heavy pots near edges, and consider that the overhang on an island is the most vulnerable spot in the kitchen.
- Never stand on your counters. Reaching the high cabinet is not worth a cracked slab. Stone is strong under distributed weight and weak under point loads — a knee or foot in the middle of a span can crack it.
- Use cutting boards and trivets. Thermal shock from a ripping-hot pan and impact from dropped knives cause more damage than most people realize.
- Don’t slam cabinet doors. Repeated vibration loosens seams over time — soft-close hinges are cheap insurance.
- Seal natural stone on schedule. Sealer doesn’t prevent chips, but healthy stone with intact sealer resists the small dings of daily life better than neglected stone.
A chip in your countertop feels like a disaster in the moment, but it’s one of the most fixable problems in a kitchen. Handle the small stuff yourself, call a pro for the structural stuff, and protect the edges going forward.
If your countertop damage is beyond a DIY fix — or you’re ready for a fresh start with new stone — Royal Granite Creations fabricates and installs granite, quartz, quartzite, and marble countertops across Metro Atlanta, and we handle repairs and restoration too. Call (678) 653-7101 for a free estimate.